MRI Scan to 3D printed Brain Music Visualizer
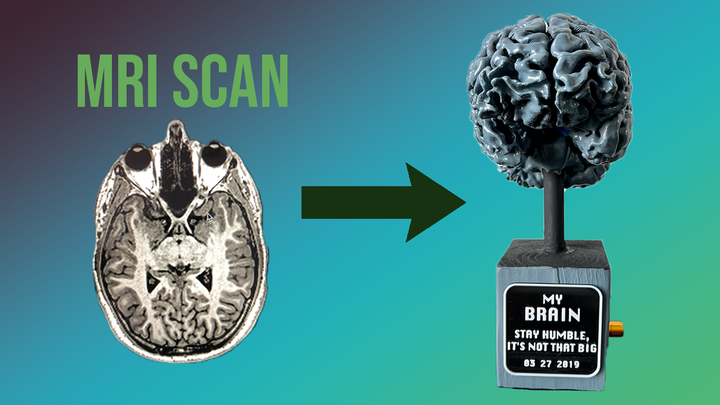
Check out the video linked above to see how I 3D printed my brain using data from an MRI and how the final build turned out. If you’re interested in learning how to turn your own MRI into a 3D print, I created a tutorial here to help you follow along. Enjoy!
The Beginning
A couple of years ago, I had to get an MRI of my brain for medical reasons (don’t worry, all is well now). While the experience was somehwhat traumatic (technical difficulties coupled with an hour and a half inside a loud hot machine), it had an unexpected benefit…I got to see my brain!!
As a lifelong science and technology geek, the coolness of being able to see inside my own head can not be overstated.
After recieving the files of my scan from the hospital I downloaded a piece of open source software called 3D Slicer, which allows for viewing and manipulation of DICOM files (a somewhat standard filetype for medical scans). Despite being free, the software has many of the same features of expensive comercial grade software I’ve used professionally such as Materialize Mimics, just without the validation for patient care.
Segmentation
The first step after recieving the models was to pull out just my brain from the scan. Unlike a CT scan, which visualizes the density of the target area, an MRI scan shows the relative intensity compared to surrounding tissue.
Using tools in 3D Slicer, or another image segmentation software of your choosing, you can ‘filter’ the scan by the intensity level. While it may sound simple, this is an ongoing area of research for major corporations and hospitals alike. To help accelerate the process I used an add-on within 3D slicer called SwissSkullStripper.
This is an automated filtering algorithm which, as the name might suggest, strips the skull and much of the surrounding tissue away from the brain. After this inital step, I went in with manual tools to refine the segmentation and ensure that all generated 3D structures were free of agregious artifacts.
Model Cleanup
Despite my careful efforts during segmentation, the brain model was still far from printable. A key requirement for 3D printing is having a ‘water-tight’ model, which in layman’s terms is to say that all boundaries of the model are closed, though the technicalities of this are far more complex. Fixing and cleaning the model took about 60% of the time for this entire project. I used various software to assist me including Fusion 360 (and formerly Netfabb), Meshlab, Meshmixer, and Blender. Through a combination of automated fix tools, hand sculpting and other modeling work, I was able to create a fairly clean and printable model as seen below.
(Note the model shown below is a simplified model due to file-size constraints of this web publication. Additionally, elements of the model have been altered to obfuscate the data, rendering it an intentionally inaccurate representation of my brain for privacy reasons. A higher poly/less artifcated version was used for printing)
Printing/Post-Processing
With a water-tight printable model I was ready to get printing. Since I’m using an FDM machine Prusa i3-MK3s, I had to cut up the model to ensure it would be printable. I also carved a central chamber out of the model to allow for placement of the electronics in a later step.
I ended up printing the brain in 5 segments, using PLA with a layer height of 0.2mm. All said, it took over 34 hours to print the brain despite optimizing the infill for lower material usage when possible. After printing, I began the post-processing steps, starting first with assembly of the 5 segments. After careful alignment, I used superglue to fasten the printed segments into two ‘halves’ of the brain. With this step complete I began a cyclical process of sanding, application of Bondo, and primer, using ever finer grit sandpaper.
Electronics
I kept the electonics of this bulid fairly simple. Everything is powered by an Arudino Nano, and by everything I mean the LED arrays, microphone, and potentiometer inputs. The basic idea is that there are two modes of operation:
- Lamp Mode - The brain acts as a glorified nightlight with a dimable light level controlled by the potentiometer.
- Music Mode - The brain’s LEDs ‘dance’ to any music that is played.
The ‘dancing’ LEDs are accomplished using the FFT library on the arudino which converts the input signal of the microphone into it’s component signals and then lights up distinct segments of the LED array accordingly.
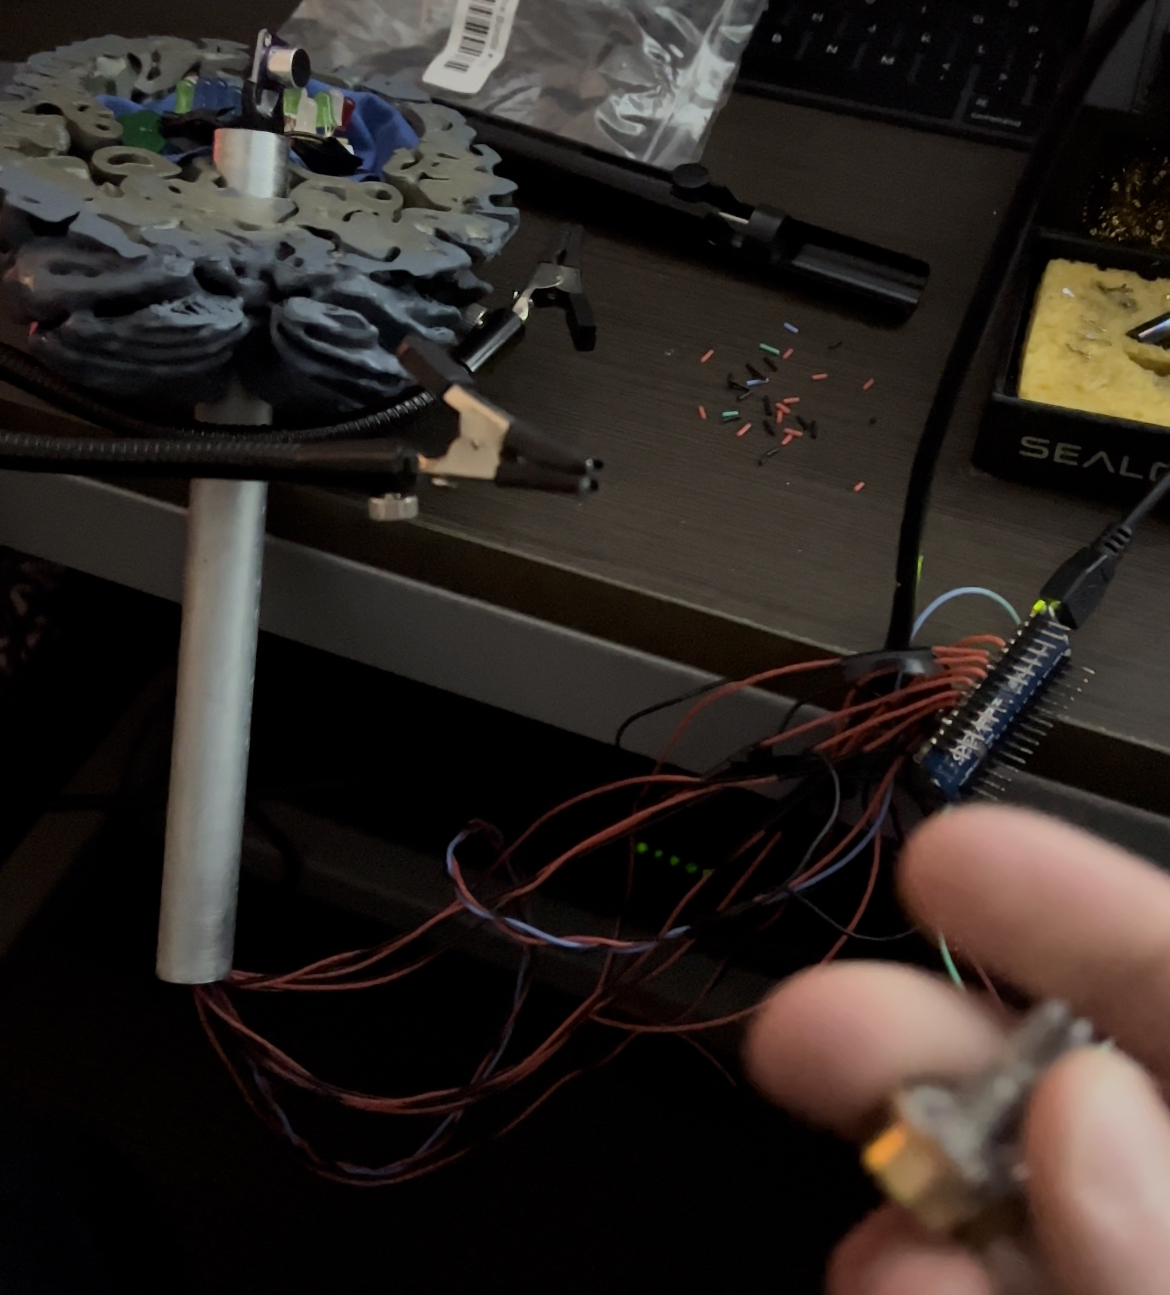
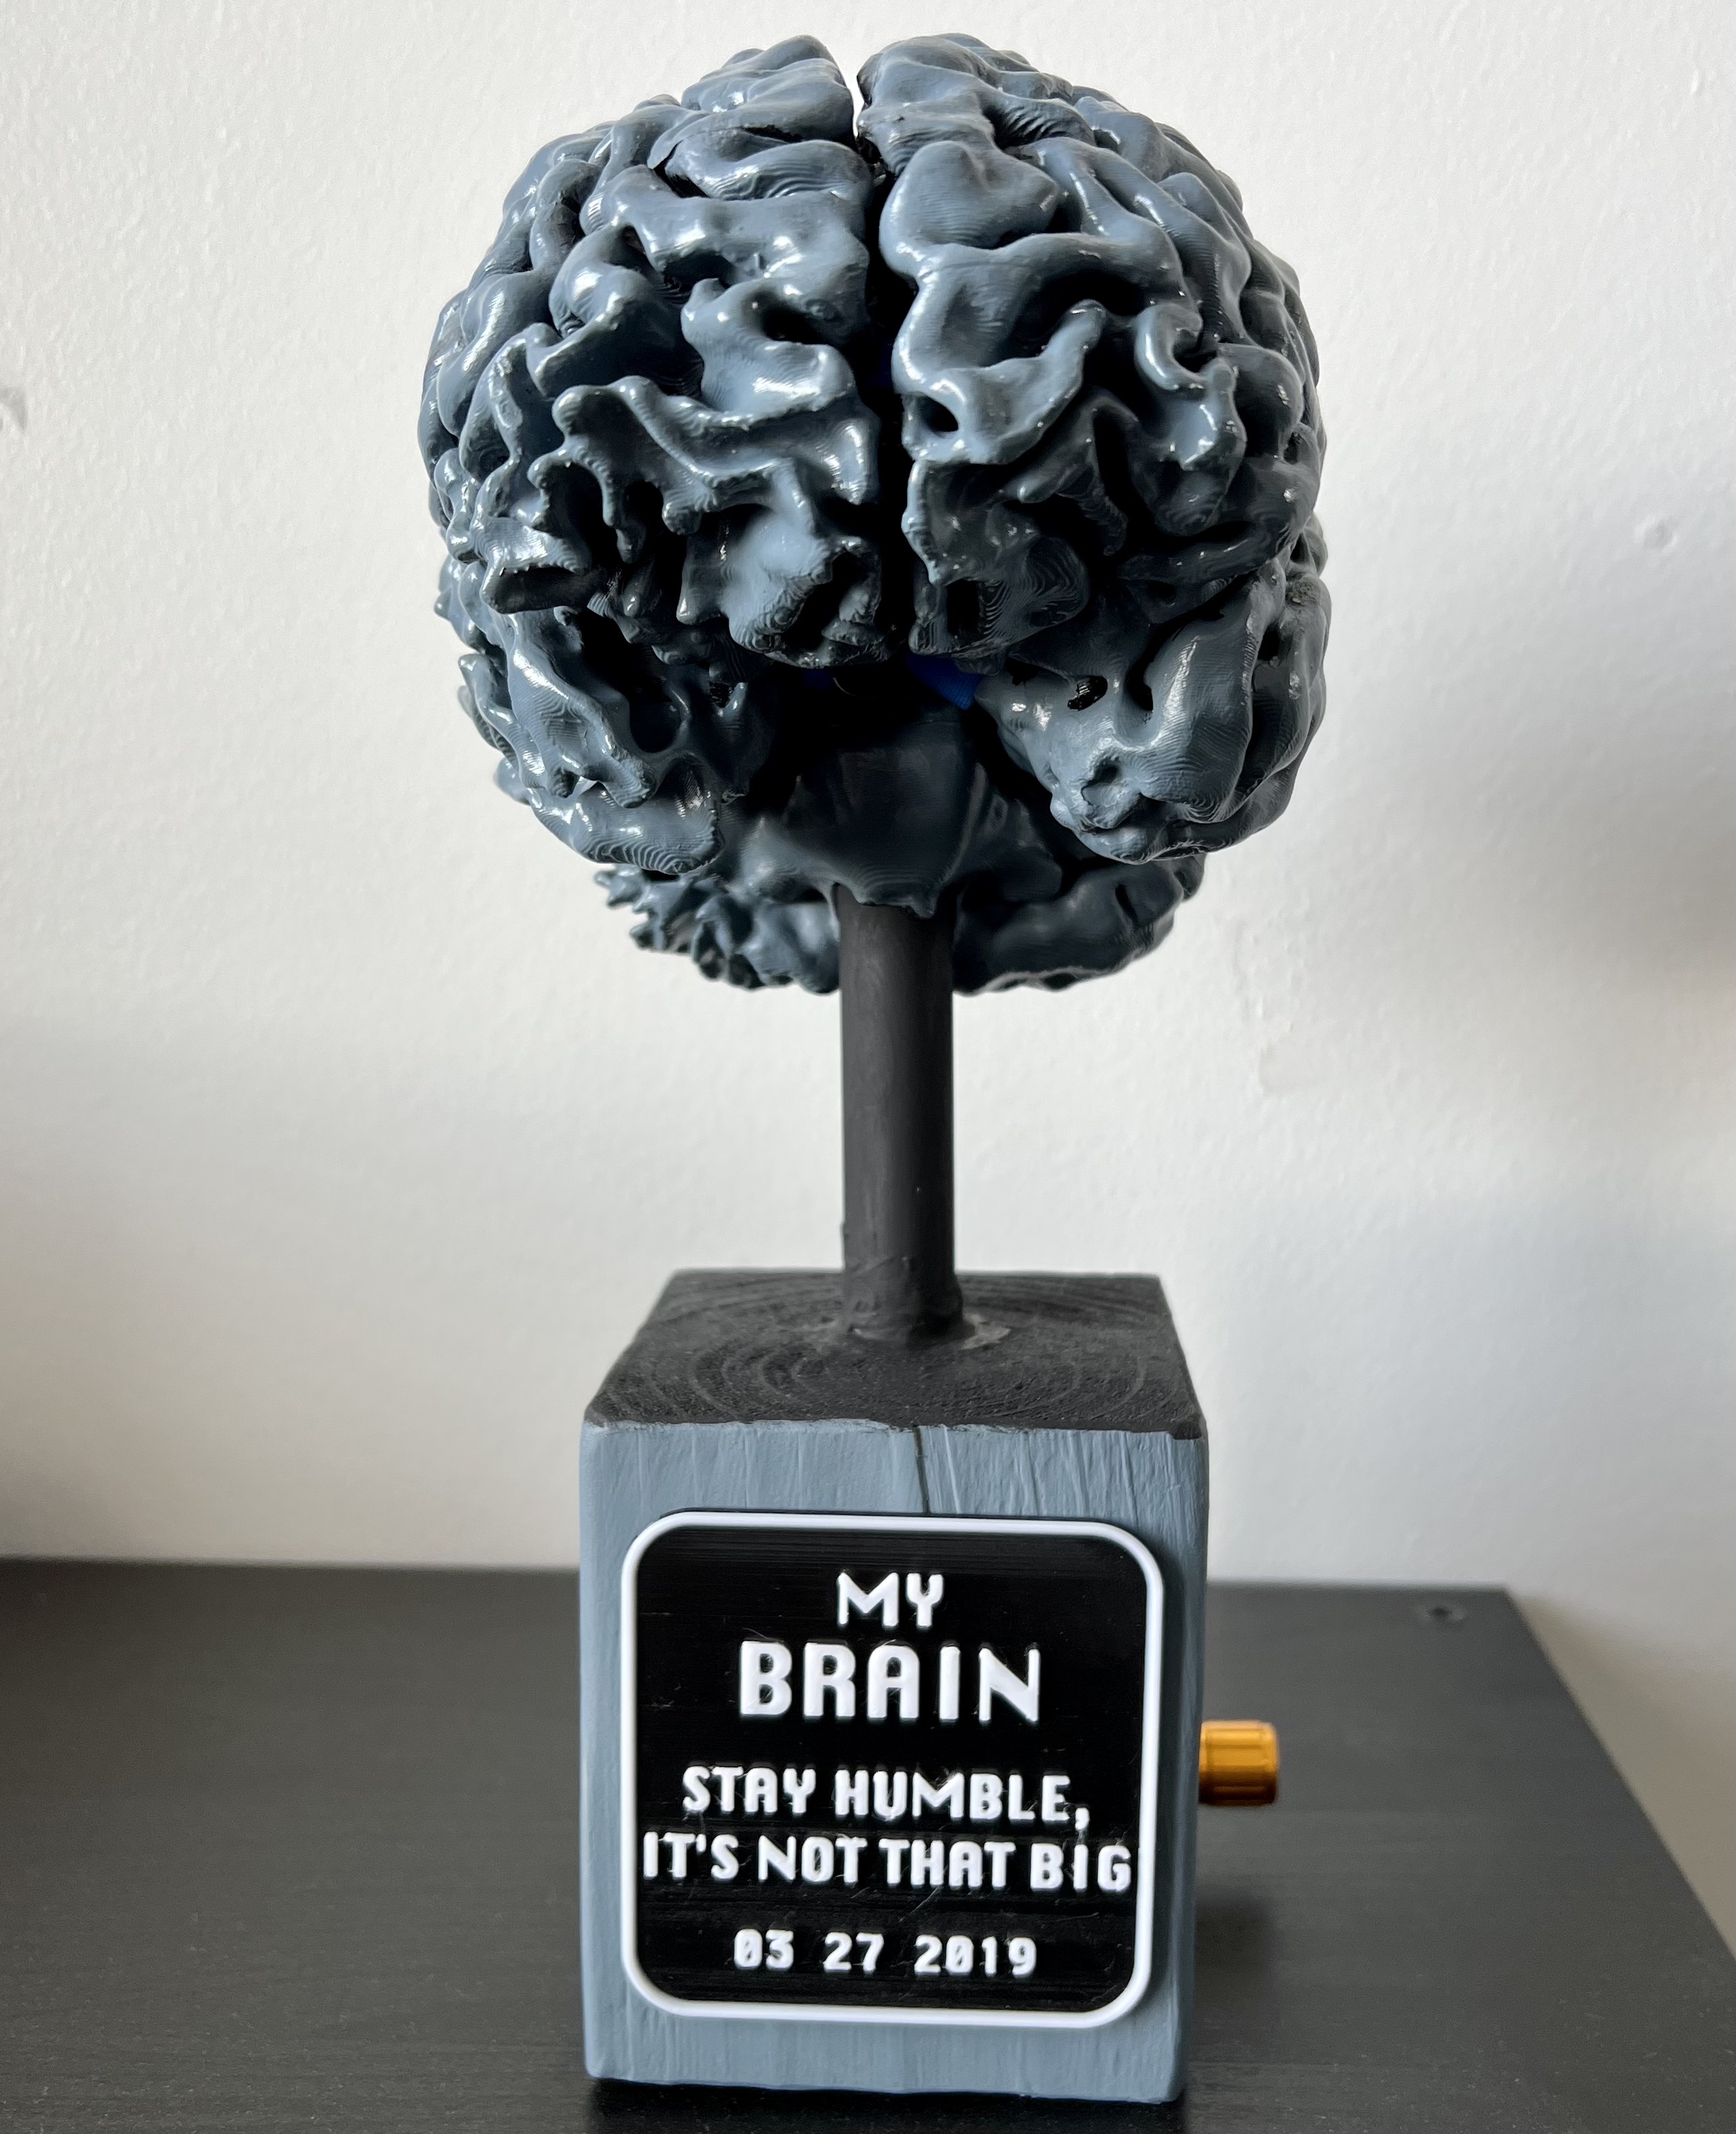
Final Assembly and Mounting
With all the subcomponents tested and working it was time to assemble the brain with a solid wooden base I had cut. The brain has it’s ‘stem’ made from aluminum conduit, which holds the brain at a suitable height and allows the cables for the LEDs and microphone to reach the arduino which is situated in the base. I printed up a little plaque dispaying the date of the MRI scan and a fun message to keep me honest. All said this was a really fun project, and it makes a fun art piece to keep in my room. I may consider upgrading it with brighter LEDs in the future, but for now it will do just fine!
Iain Zwiebel
Biomedical Engineer
Iain Zwiebel is a Biomedical Engineer committed to creating positive change in the world through human centered design, particularly in the health sector.